This unit is in no way a replacement for proper ventilation that is HIGHLY recommended in any resin setup - it is supplemental to a setup by assisting to contain 'fumes' at the source.
Follow the links for Preparing for Resin Printing - Ventilation Guidance - Safety FAQ
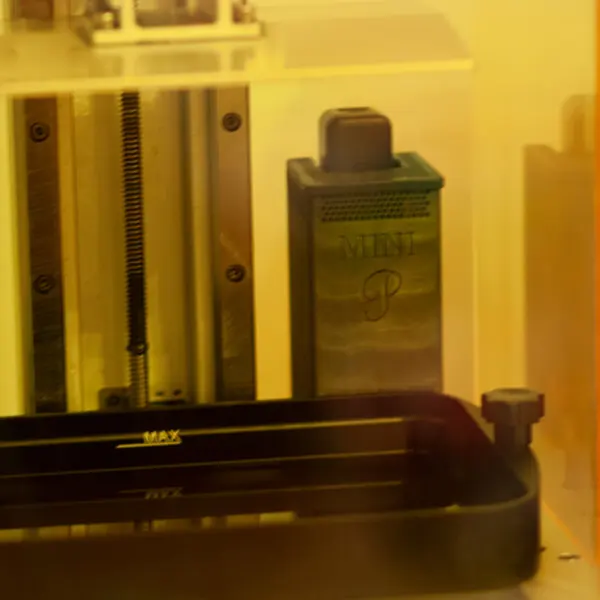
The P Mini is designed to mitigate fumes produced by resin printers. This cleaner pulls air through a thick activated carbon granule bed to capture the fumes.
Place emphasis on mitigation since carbon typically has efficiencies of 40-60% per pass. The P Mini can capture fumes from resin and FDM printers, but it can only be produced with resin.
The P Mini files are released for non-commercial use (don't make and sell these) and a sourcing & build guide is provided below. If you believe there is a component/product/brand that is worth recommending for this guide then please let us know. Dependent upon interest, we may release a 30mm or increasingly modular design in the future.

Why P Mini?
- A larger battery pack means a longer operating time
- A higher-rated fan means more flowrate and static pressure potential
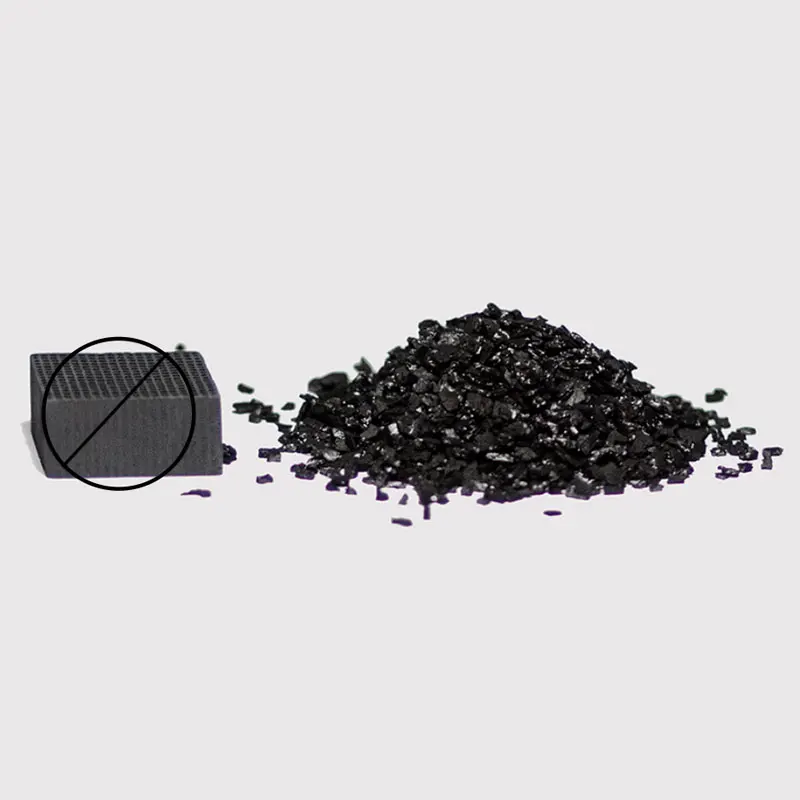
- More carbon (up to 50 g) instead of the 13.6 g brick means more time between replacements
- There are actually replacements for when this carbon goes bad
- Print as many copies as your heart desires (for personal use - no commercializing)
How To Get Started
- Download the pre-supported file or STLs for free
- Follow the sourcing and build guide
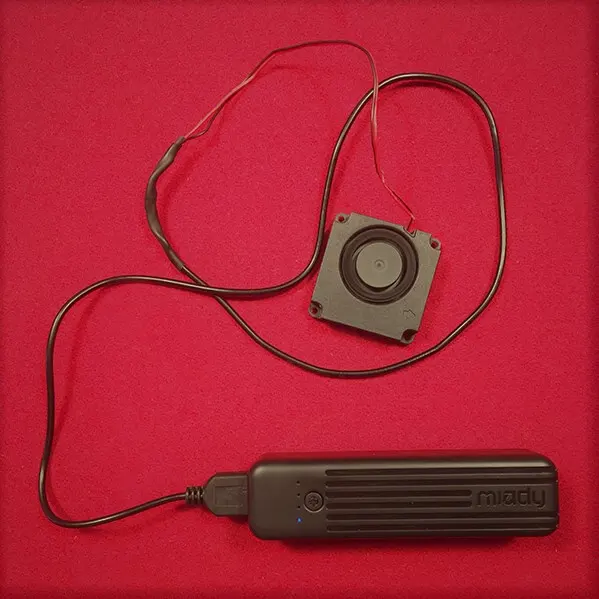
- Use any 40x10 mm blower with any power source (recommended 5 V with battery pack)
- Use activated carbon granules
- Capture some of those pesky fumes!
Specifications
| Fan Voltage | 5 V |
| Fan Current | 0.14 A |
| Power Consumption | 0.7 W |
| Battery Capacity | 5,000 mAh |
| Operating Time (Max Battery Charge) | 36 Hours |
| Dimensions | 53x53x113 mm |
| Dimensions (With Battery, No USB) | 53x53x133 mm |
| Carbon Capacity |
50 g |
*Specs based off the recommend setup of the 5 VDC blower and the battery pack
P Mini Components To Source
Battery Pack
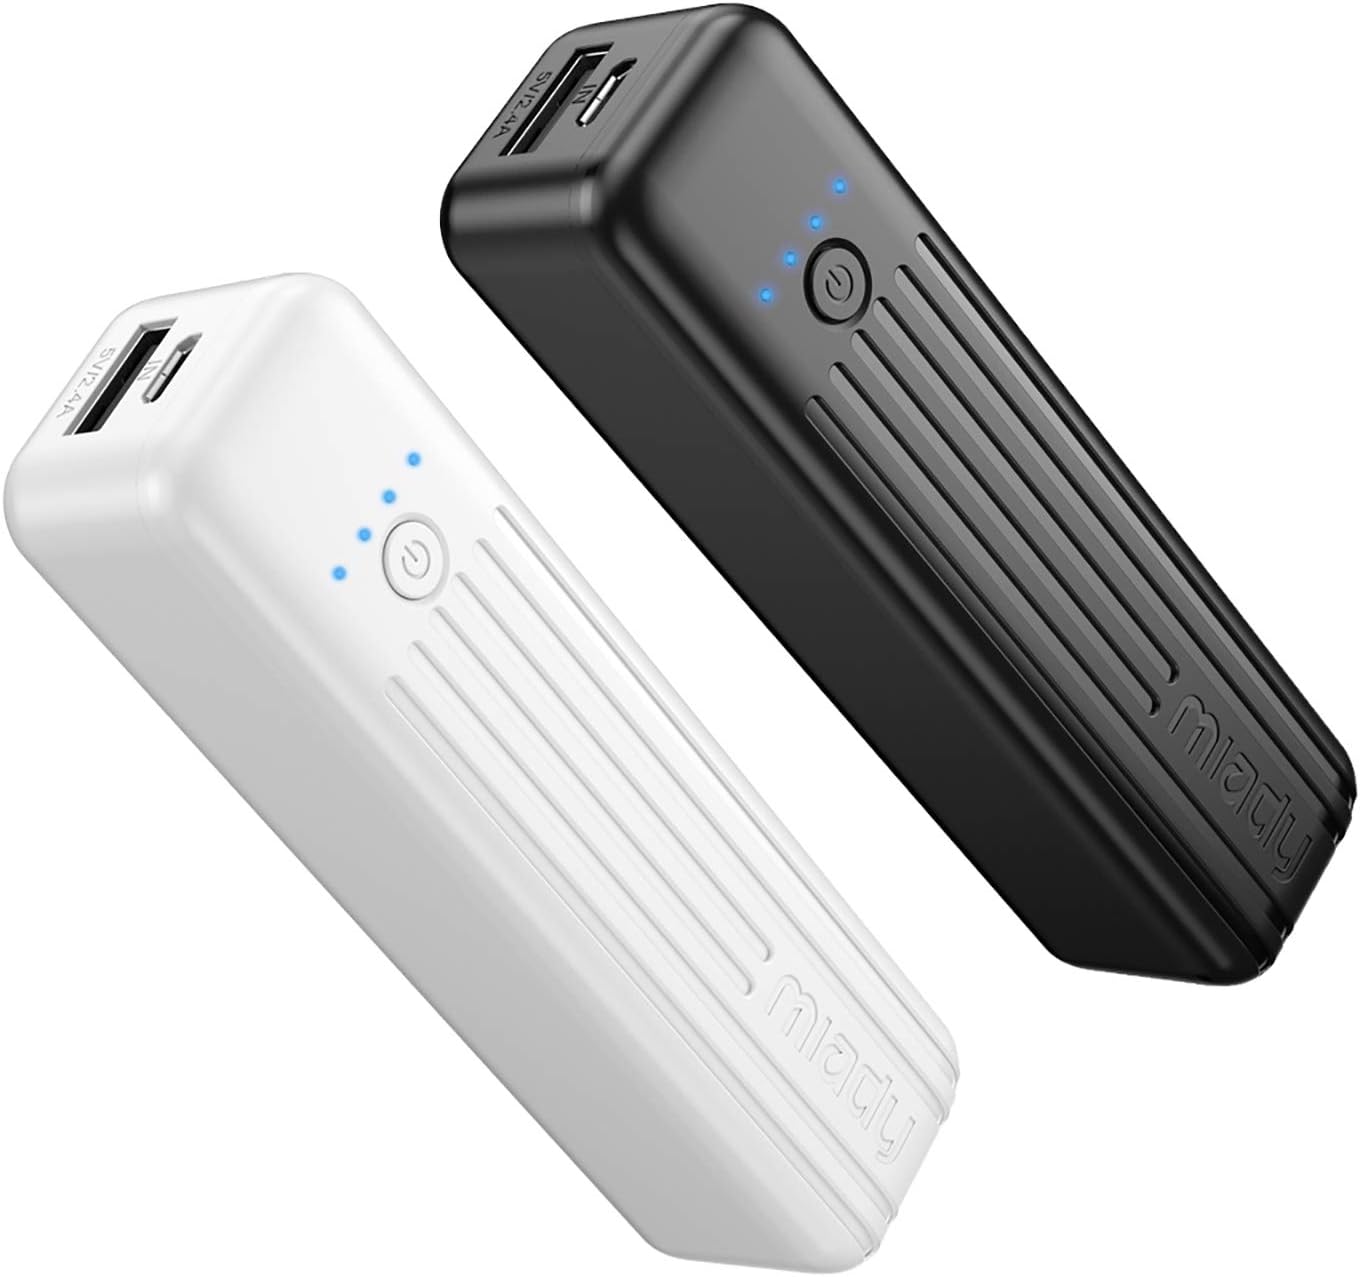
- The recommended power source is a battery pack with a 5 VDC output, due to affordability and availability.
- The packs below are designed to sit within the Mini P, but any other pack within 1.13x1.13 in or 1.23 in diameter will fit.
- If you wish to use an alternate power source you certainly can, just make sure the voltage of the source and fan match.
- Alternate sources could be: an external battery, wall ac-dc adapter, or tying into the printer's power.
Global Battery Pack
$10+
Voltage Output: varies
Capacity: varies
*Alternate*
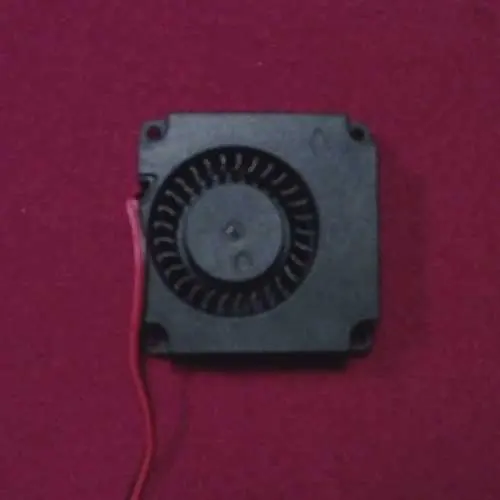
Blower/Centrifugal Fan
- The blower fan that is used in the Mini P must be 40x40x10 mm.
- The recommended setup of the battery pack will require a 5 V fan, but another voltage can be used if you have planned for an alternative power source.
- The USB wired fan can be powered by the battery pack or a USB port. If you do not have access to the fans on ebay, you can very easily splice the fan to any spare USB cable.
- It is not recommended to use any fan that is rated below 0.5 W or one that has a low static pressure.


Activated Carbon
- Coconut shell activated carbon is recommended, since it has a lower ash content than coal-based carbon.
- The coconut shell carbon should be acid-free. A majority of carbon is acid-washed and can corrode metal in your 3D printer.
- The ideal mesh size is 4x8. Mesh 4x8 contains granules between 0.094-0.188 in ( 2.38-4.76 mm). Smaller granules will fall through the grate.
- The iodine number is a basis in which to compare the maximum capacity of the carbon; typical values are 500-1200 mg/g.
Need help sourcing or putting it together?
Want to show off the final look?
How To Build P Mini
Printing The Files
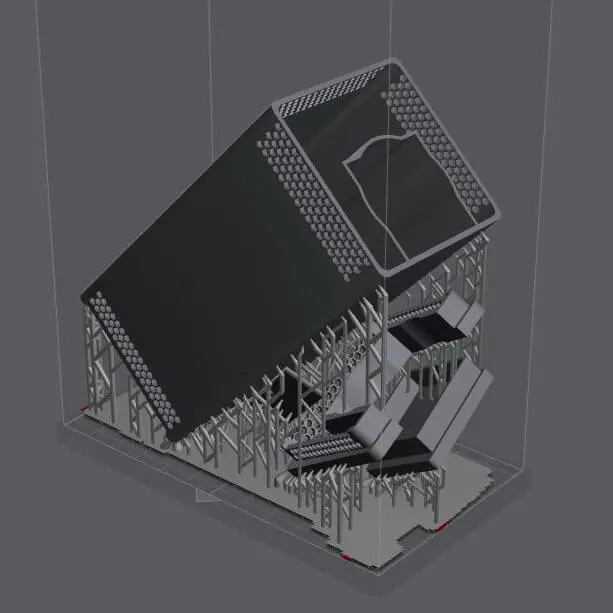
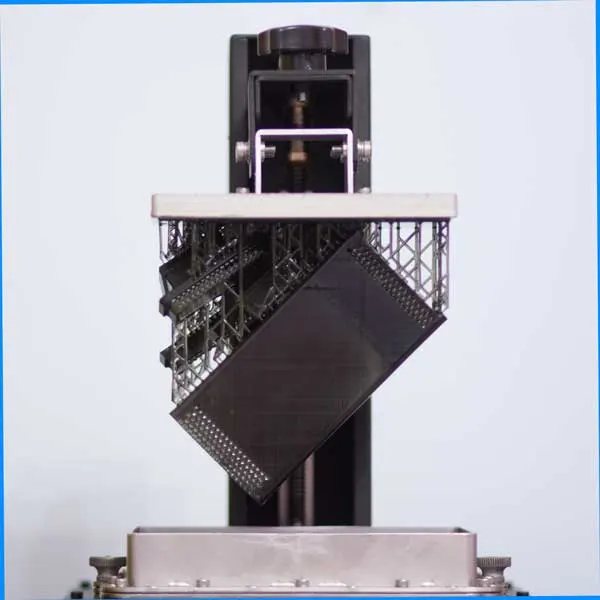
- Download the print files and import the pre-supported parts to your slicer - the parts are heavily supported to minimize print failures. If you wish to improve aesthetics you can customize the supports or wet sand during post-processing.
- Make sure to follow the orientation of the pre-supported main body in order to ensure the honeycomb prints correctly.
- Follow your normal resin profile for printing - if you are having print failures refer to the slicing FAQ.
- During cleaning make sure to get all of the resin out of the honeycomb, especially the internal section. This could be done by: spray bottle, pouring IPA, ultrasonic cleaning, liquid pump, or compressed air.
- Once the internal honeycomb is free of resin then proceed to cure this section plus the rest of the body and the smaller parts.
- After all the pieces are fully cured, wash them with dishsoap and cold water. It is recommended to do this in a separate container and let the water evaporate, especially if wet sanding.
- If the resin is sensitive to water/moisture then make sure to dry the parts out with a hairdryer etc, otherwise they can be left out to dry.
Installing The Fan & Battery
- Before inserting the fan, check which side the wires are on & try to keep them on the top (near but not on the rotor) when installing.
- There are three holes on the cover - pick whichever will make the wire path as straight as possible without touching the rotor.
- Find the side with the air-outlet on the 40mm fan and insert it straight back. Compressing the wires a little is fine (it also helps make the fan snug), but be careful about any resin edges that can cut the wires.
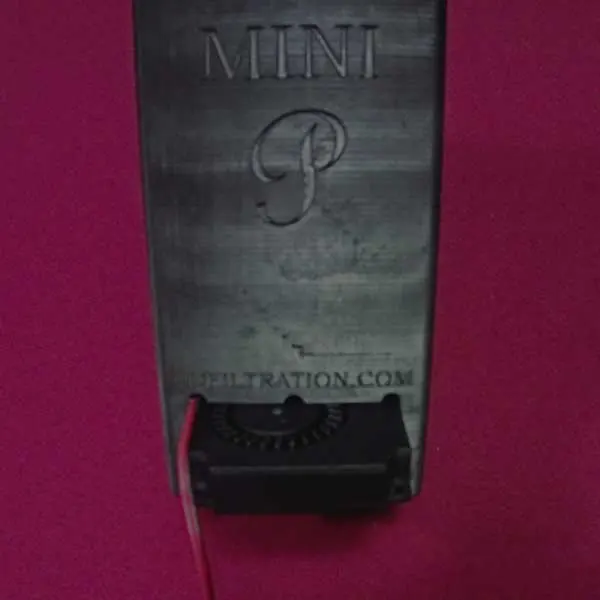
- Make sure the fan is all the way in then place the cover on, feeding the wires through the hole. We recommend placing a bead of adhesive or hot glue on each side of the cover if it is loose (varies due to shrinkage).
- Slide the battery into the slot & wrap the cable around the unit a few times before plugging it in. When not in use you can turn the fan off at the battery pack, by partially unplugging the USB, or by placing the USB connector snug against the battery.
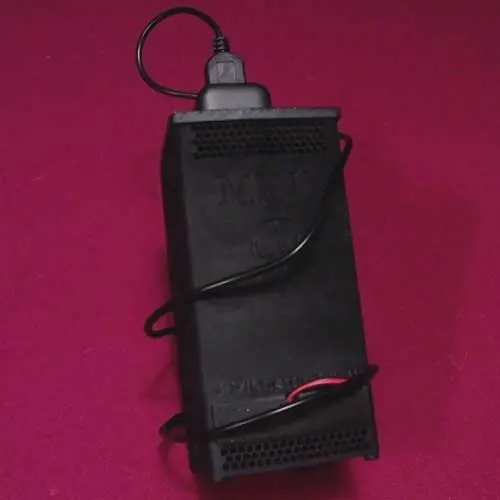
- Currently, the cabling wraps around the unit since that is the most feasible solution for most users. We are open to suggestions if you have any model or post-processing changes!
Filling & Replacing The Carbon
- Take off the grate lid & put on the solid square lid where the battery sits. This prevents carbon from getting into the battery slot.
- If removing bad carbon, dump and shake out the spent carbon into a polybag.
- Place the unit on a paper plate or towel, and using the wired tabs, pour in new carbon from the whirl-bag.
- Switch the lids out and you're good to go!
Disclaimer: You assume all responsibility and risk for the use of, but not limited to, the resources, advice, and opinions of 4D Filtration or its employees. 4D Filtration or its employees do not assume any liability or create any warranty for the use of any information. 4D Filtration may receive commissions for referral links. Prices are approximated for simplicity and they may fluctuate due to sales or markdowns. Amazon .com should refer you to your local amazon site if you are not in the United States; there is a chance Amazon's link redirect system will take you to a different product.