
The following simulations and examples are intended to provide a comparison between heating setups for resin 3D printers under a variety of temperatures.
The recommended method of heating a resin printer is a 250-500 W ceramic heater that is temperature-controlled. This is the most reliable method since you can set your desired resin temperature.
A 250 W heater is suitable for temperatures no colder than -5°C, provided that your printer is enclosed. A 500 W heater works with temperatures no colder than approximately -35°C.
The ideal situation for resin printing during the winter is to have the printer in a garage, enclosed, heated, and ready to be vented when printing has concluded.
Resin printers can be indoors in a separate and sealed room, but you will be evacuating warm household air due to the ventilation required.
**This page will be overhauled once it gets a bit colder here in Texas**
Table of Contents
Assumptions for Simulations
- Small resin printer with a rated power of 45 W distributed across the base for simplification, cycling on for 1.5 s (exposure time) and off for 17 s (1 mm/s lift and retract over 8 mm + 1 s light-off delay).
- The printer cover is acrylic, the grow tent enclosure is oxford fabric, the vat and base are aluminum, and the resin has a thermal conductivity of 0.2 W/(m·K).
- There is approximately 310 grams (≈270 ml) of resin in the vat.
- No forced convection, wind, or drafts across the printer or enclosure.
- Target temperature of 30°C on the heater + controller setups.
No Enclosure or Heat Source
Simulation at 20°C (68°F) Ambient
When it is warm outside the main concern with resin printing is ventilation. During winter we have to make sure the resin stays at an adequate temperature (usually 20°C+ for budget resin and 25°C+ for engineering resin).
A balanced option is to have the printer in a garage while not venting till after printing has finished. This keeps fumes outside the residence and provides the opportunity for efficient heating. A printer in the residence can be heated but heating air that is instantly vented is not efficient.
Recommended: Enclosure, Ceramic Heater, and Controller
500 W Heater
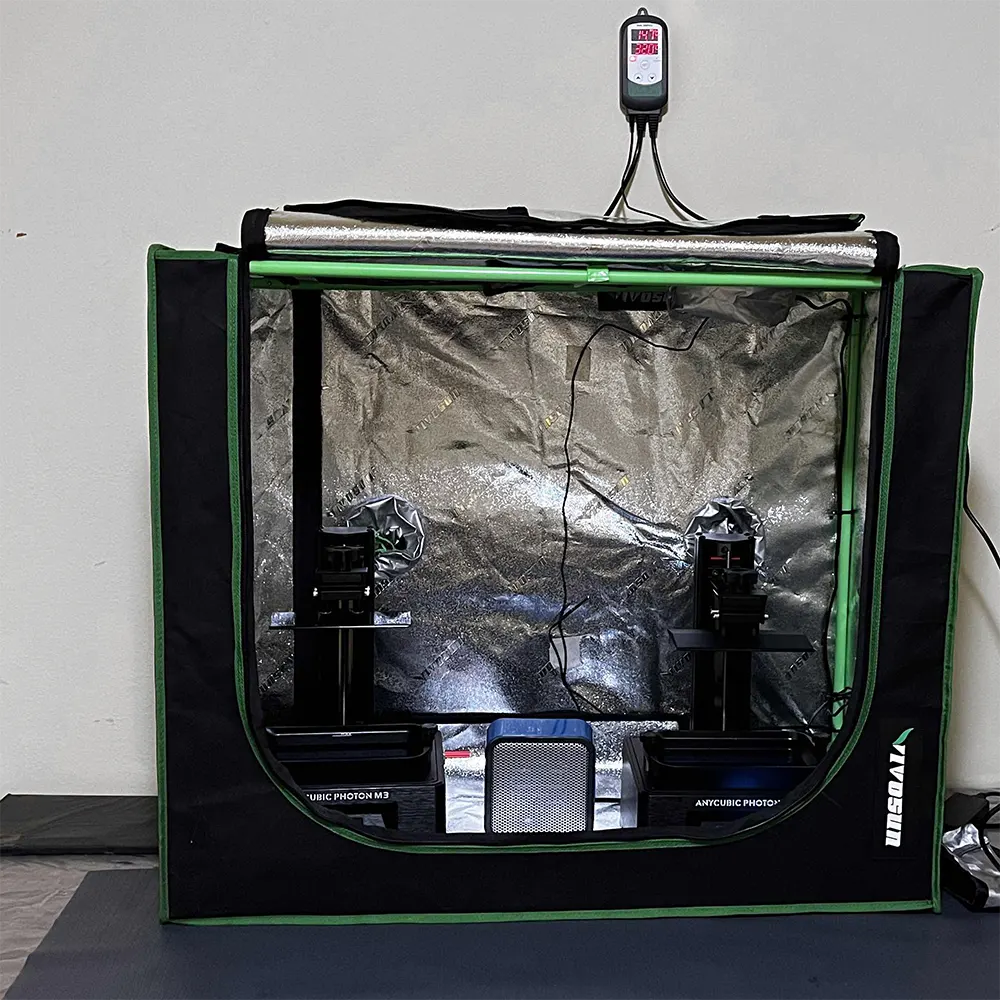
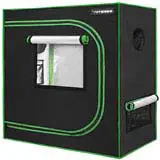
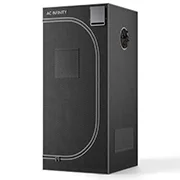
Our recommended method for heating resin during winter uses a grow tent enclosure, 500 W ceramic heater, and a temperature controller.
The 30x18x36" grow tent pictured is affordable and suitable for a single resin printer. It can barely fit multiple printers, so consider larger sizes if that is your plan.
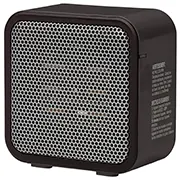
The 500W ceramic heaters rapidly heat the entire enclosure. They can also be used to preheat resin in bottles.
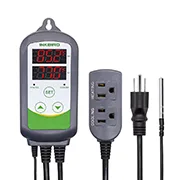
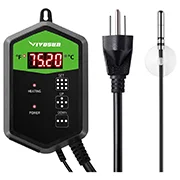
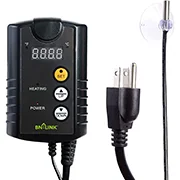
The controller maintains a stable temperature with a sensor. The controller's sensor probe should be placed low and away from the heater.
Add-ons that can be useful are a hanging circulation fan and a timer power strip. The circulation fan promotes even heating, and the timer power strip will save energy by turning off all of the equipment after printing has concluded.
This is the internal temperature of the grow tent setup above with an ambient temperature of ≈5°C (41°F). This test was conducted without the additional heat output of a resin printer and with minimal convection (air drafts) on the outside of the grow tent.
This test demonstrates that a 500 W heater can reach 30°C (86°F) in 5 minutes. After the warmup period, the controller will cycle the heater - we set our controller for 30°C ±2°C.
It is important to note that this is the air temperature within the grow tent and not the resin. If you preheat the resin before putting it in the vat, then you are ready to print after 5 minutes. If your resin is still in the vat, you must allow it to slowly heat up. This makes an infrared thermometer useful.
200 W Heater
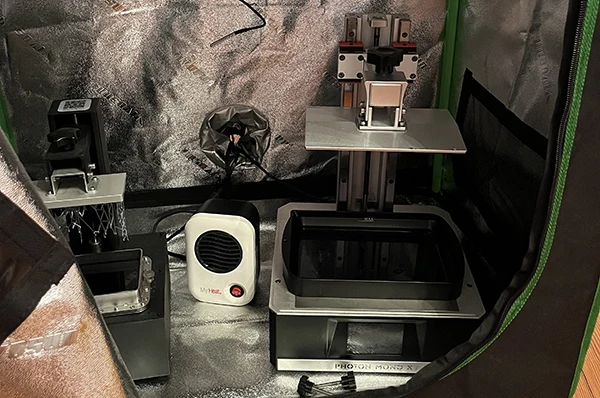
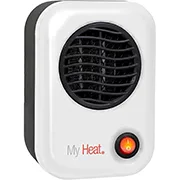
In this example, the heat source is a 200 W Lasko heater with an Inkbird controller.
For this setup, the controller is set to kick on when the temperature drops below 28°C. It will then run until it reaches 32°C, where it will turn off and wait until it drops again. This keeps the entire grow tent near 30°C (86°F) while reducing the wear on the controller.
However, the wattage on the heater is too low for the ambient temperature, so it never reaches 30°C.
This is the internal temperature of the grow tent setup above with an ambient temperature of ≈4°C (39°F). This test was conducted without the additional heat output of a resin printer and with minimal to moderate convection (air drafts) on the outside of the grow tent.
This test demonstrates that a 200 W heater will max out at ≈26°C (79°F) under ≈4°C (39°F) ambient. However, the grow tent air temperature does reach 20°C+ in less than 10 minutes. This could be suitable for printing with budget resin.
Grow Tent Enclosure & Temperature Controlled Heater
Simulation at 0°C (32°F) Ambient

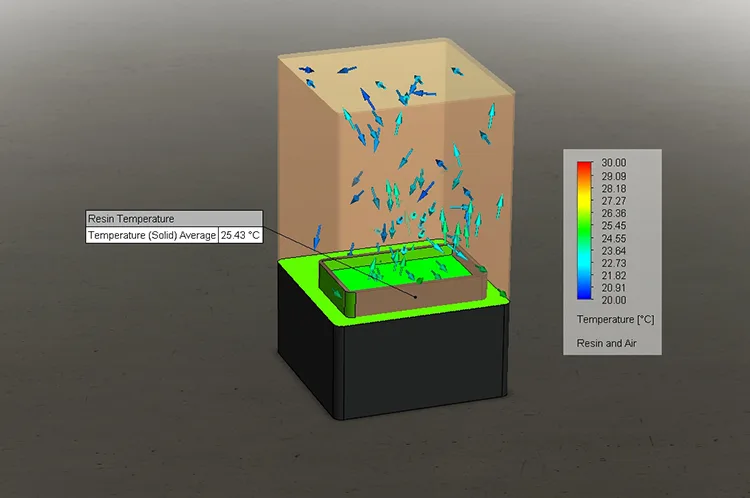
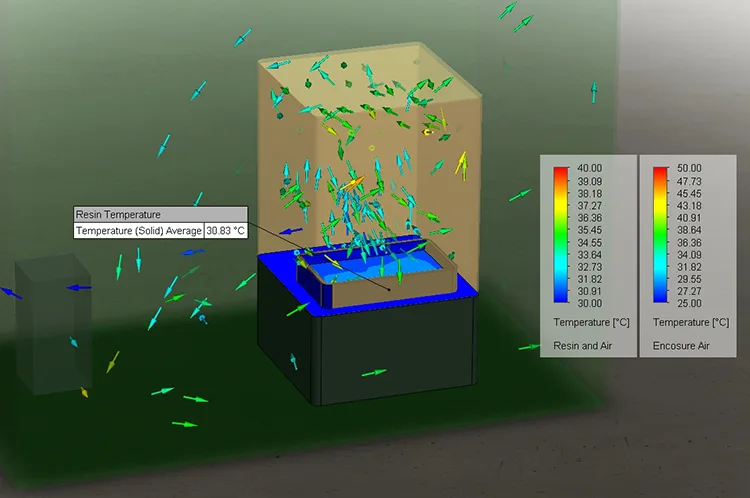
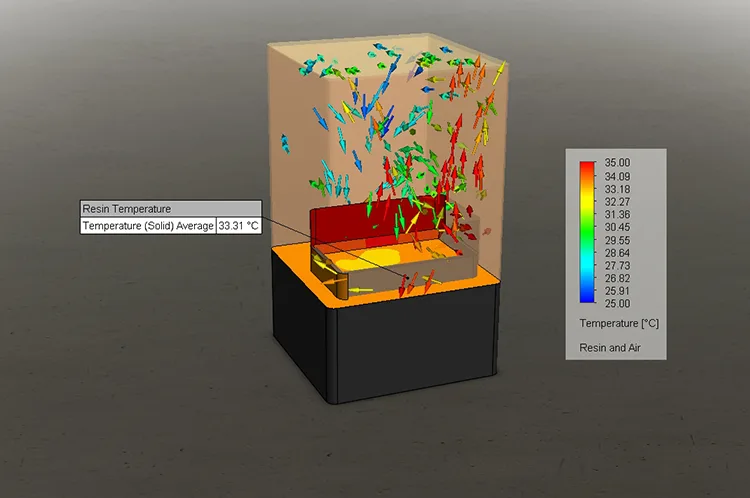
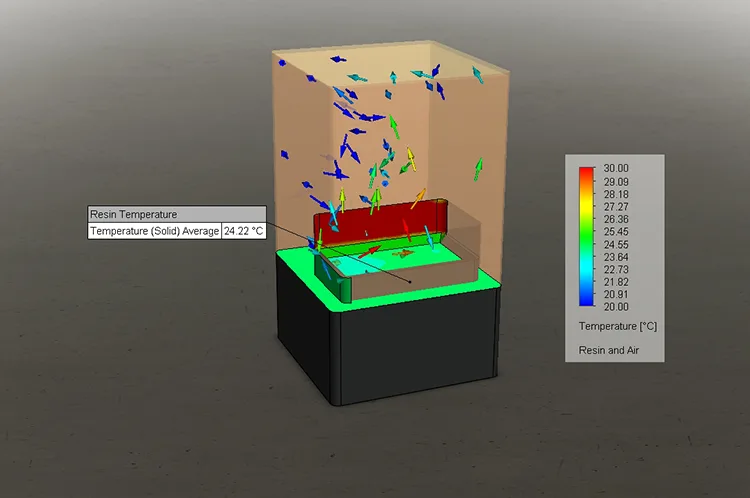
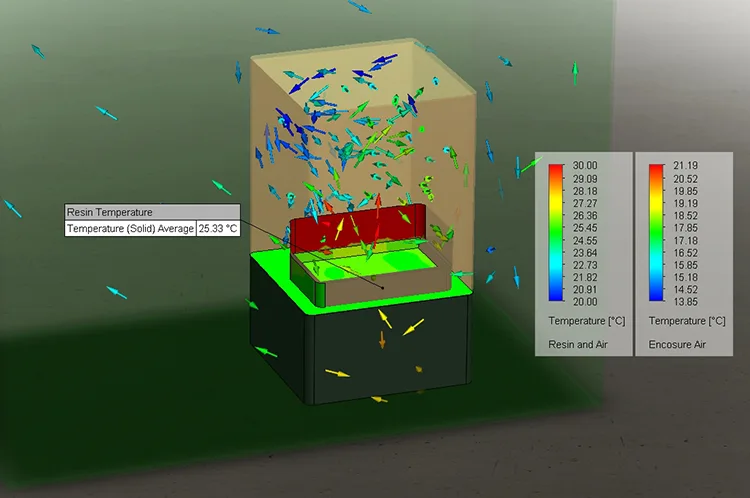
This simulation example demonstrates that a 250 W heat source, in combination with the cycling 45 W of the resin printer, can reach a maximum steady-state resin temperature of 35°C at 0°C ambient.
An efficient method to manage a 250 W heat source uses an inline controller. You will be able to place the controller within the enclosure and set your desired temperature.
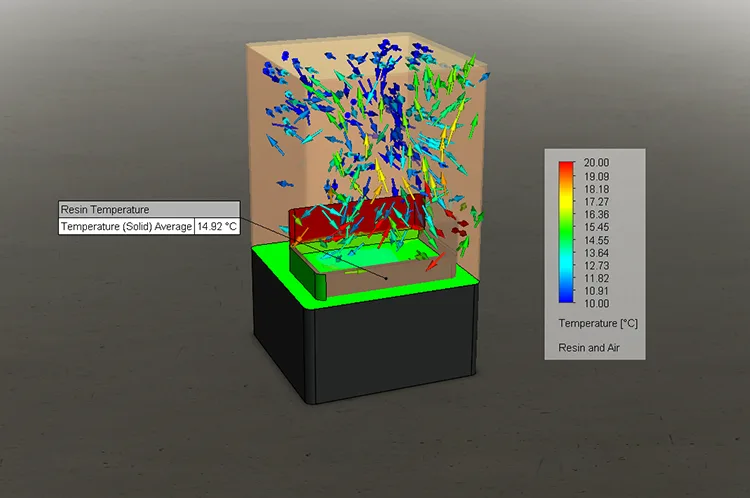
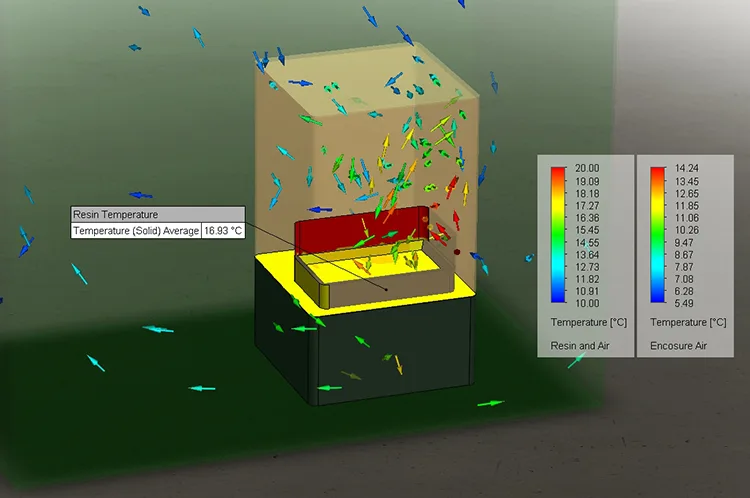
Simulation at -20°C (-4°F) Ambient
The lower winter temperatures will lower the variance in the resin temperature. In this and the prior example, the target for the controller was 30°C. The prior example allowed the resin to rise ≈5°C above while this one is ≈1°C above.
The temperature-controlled heater will provide the best results to keep the resin at your desired target, but this method is more expensive to employ and uses more energy than the heating pads. Make sure that the controller you choose is rated for the power draw of the heater.
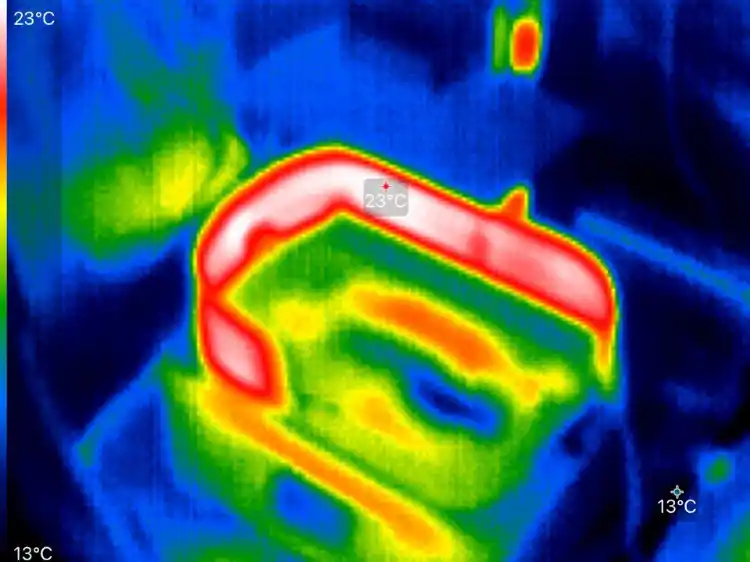
Uniform Heating with Ceramic Heaters
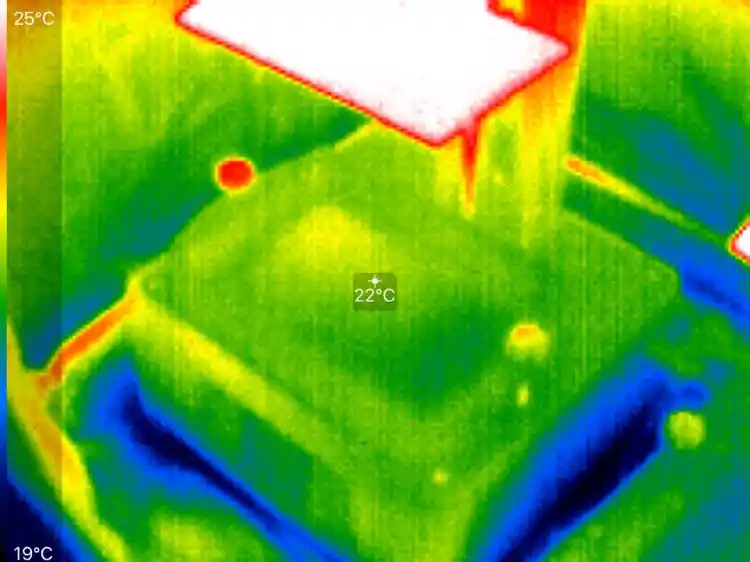
This thermal image showcases the temperature gradient of a printer when inside a grow tent with a ceramic heater. Heating the air of the enclosure provides a stable resin temperature, ensures that the build plate is warm, and heats multiple printers together.
We recommend preheating your resin before putting it into the vat in order to speed up the pre-flight check. The air temperature of the grow tent reaches 30°C in under 10 minutes, but the resin can take quite a while longer if left in the vat.
If you leave your resin in the vat, it can easily take 20-30 minutes to heat the resin to 20°C+ when the ambient temperature approaches freezing. When resin is preheated in a bottle in front of a ceramic heater, it should only take a few minutes.
Lower wattage heaters work for temperatures above freezing but they do not have enough heat output for anything below this. Higher wattage heaters (500-1,500 W) will work below freezing but you must be careful so as not to overheat the printer or start a fire.
Lower outdoor temperatures, wind drafts, and cracks in the grow tent will increase the energy usage of the heater and decrease the maximum temperature it will be able to reach.
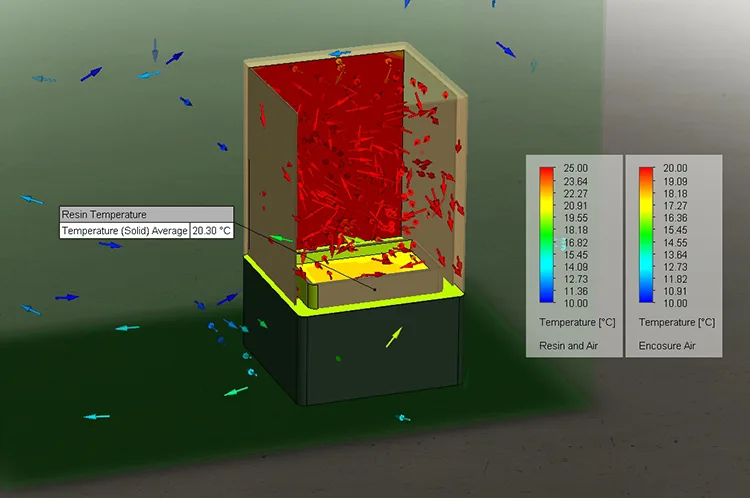
Enclosure & Heater Thermal Runaway (No Controller)
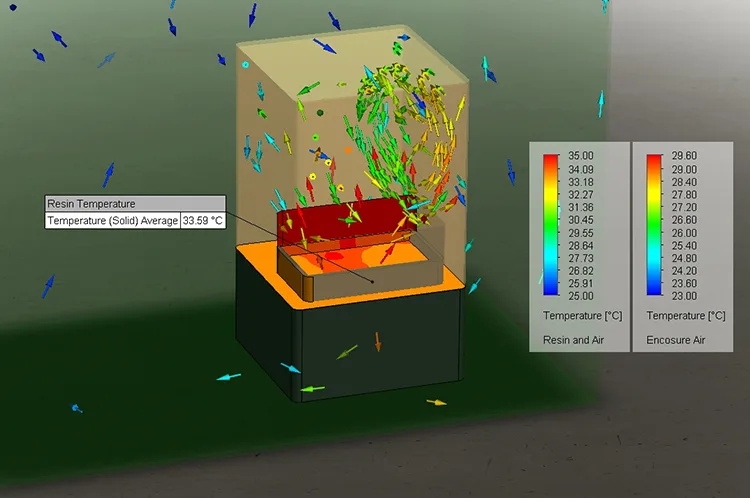
Simulation at 0°C (32°F) Ambient
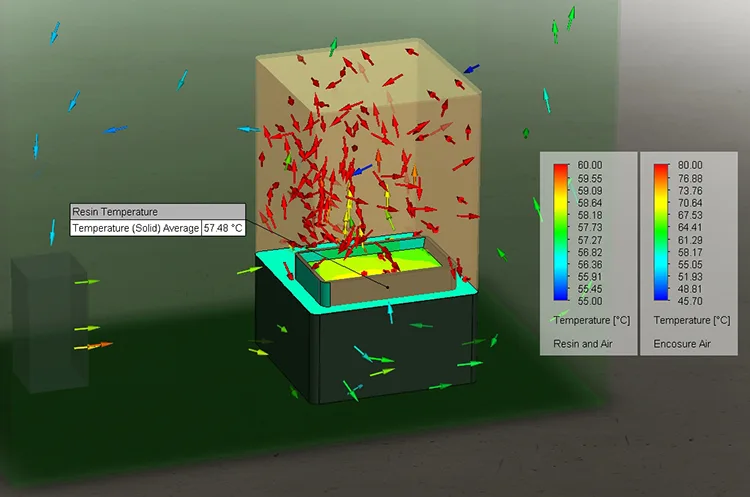
This simulation demonstrates that a 250 W ceramic heater with no controller pointed directly at the printer will heat the resin towards 60°C. Beyond ruining the resin, this can damage electronics, warp plastic components, waste electricity, and start a fire.
This stresses the importance of a controller and properly positioning the equipment. The heater should not be pointed directly at the printer or sensor probe. Instead, the airflow should be parallel or away from the printer, and the printer should be on the opposite end of the enclosure.
Improper Use of a Ceramic Heater
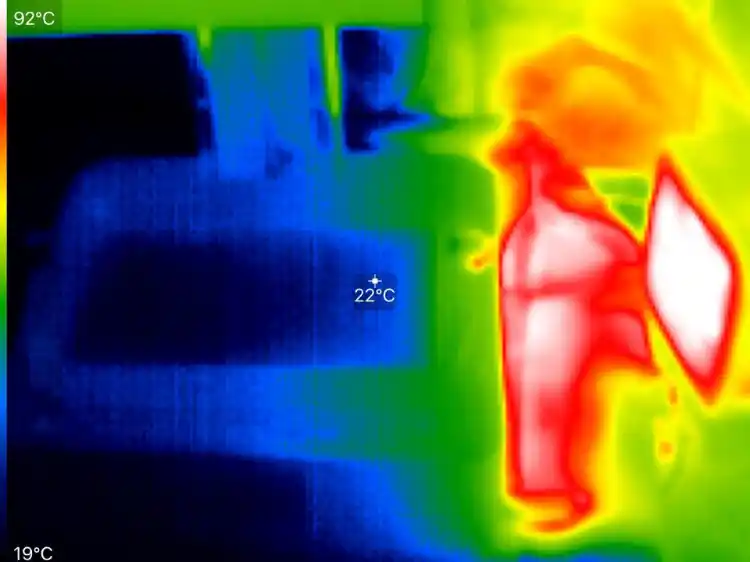
This thermal image showcases the damaging heat that builds up within seconds when a ceramic heater is improperly positioned. The heater should be placed parallel to the printer.
With proper positioning, the enclosure can reach a stable temperature that is reliable for printing no matter how cold it is outside. A hanging circulation fan will assist in uniform heating.
No Enclosure & Small Heating Pad
20°C (68°F) Ambient
A small heating pad is a safe and cheap method to raise the temperature of the resin during printing. Raising the temperature in a warmer environment can still be useful for engineering resins and reducing the exposure time on budget resin.
This simulation shows that at 20°C ambient, a small 6.5 W heat pad and the cycling 45 W of the printer can heat the resin to a maximum temperature of 33°C.
Resin at 20°C will take time to reach 33°C, or it can be preheated.
10°C (50°F) Ambient
When temperatures begin to drop, even the 6.5 W heating pad will be able to adequately support budget resin.
This simulation shows that at 10°C ambient, a small 6.5 W heat pad and the cycling 45 W of the printer can heat the resin to a maximum temperature of 24°C.
0°C (32°F) Ambient
The small heating pad becomes insufficient near-freezing temperatures. For a cold garage, an enclosure and a higher wattage heat source will be needed.
This simulation shows that at 0°C ambient, a small 6.5 W heat pad and the cycling 45 W of the printer can heat the resin to a maximum temperature of 15°C.
Small Heat Pad After 15 Minutes
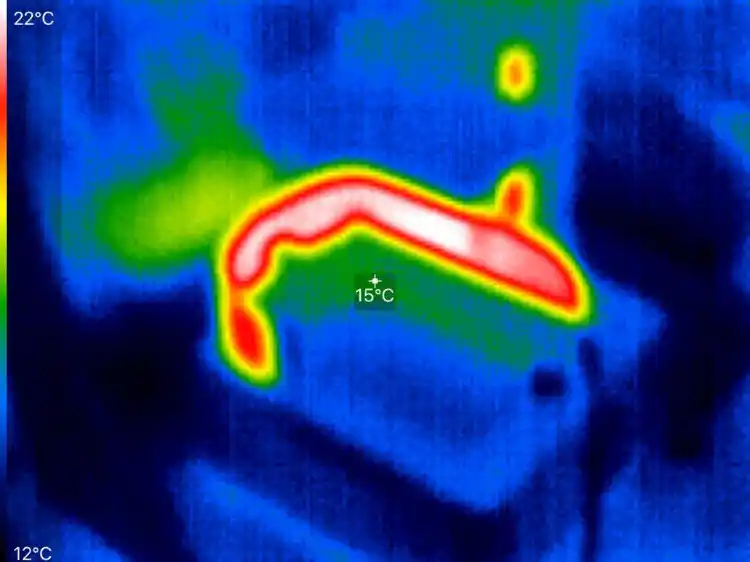
This thermal image shows that even after 15 minutes of operation, a small 6.5 W heat pad struggles to raise the resin temperature with an ambient temperature of ~12°C.
This example stresses the importance of preheating the resin, ideally while it is in the bottle. The 500 W ceramic heaters excel at preheating the resin in bottles.
Another item of note is that any heat pad will not directly heat the build plate. If left cold when starting a print, the plate will chill the resin until it reaches equilibrium with the resin and the heat pad.
Grow Tent Enclosure & Small Heating Pad
20°C (68°F) Ambient
A grow tent enclosure provides only a minimal increase in the resin temperature during the warmer times of the year. However, it will aid in proper ventilation.
This simulation shows that at 20°C ambient, a small 6.5 W heat pad and the cycling 45 W of the printer can heat the resin to a maximum temperature of 34°C, while in a grow tent.
10°C (50°F) Ambient
When temperatures begin to drop, the added insulation of the enclosure becomes apparent. There is a ≈1°C increase in the resin.
This simulation shows that at 10°C ambient, a small 6.5 W heat pad and the cycling 45 W of the printer can heat the resin to a maximum temperature of 25°C, while in a grow tent.
0°C (32°F) Ambient
At freezing temperatures, the enclosure will bump the resin temperature up by ≈2°C, but the ≈17°C resin is still below the recommended levels. The resin can print at this temperature but the exposure times and risk of failure will be higher.
This simulation shows that at 0°C ambient, a small 6.5 W heat pad and the cycling 45 W of the printer can heat the resin to a maximum temperature of 17°C, while in a grow tent.
Small Heat Pad Temperature Gradient
The resin in this thermal image was preheated to ~20°C. This showcases the inconsistent resin temperature when heating with a small heat pad or band.
A temperature gradient forms within the resin, resulting in cold pockets. While this won't necessarily cause any problems from a top-level perspective, the varying resin temperature will have differing exposures, which can affect the print locally.
As stated earlier, a vat heat pad will not directly heat the build plate. Instead, while printing, the cold build plate will dip into warm resin, chilling the resin with each layer.
Grow Tent Enclosure & Large Heating Pad
0°C (32°F) Ambient
Swapping a small 6.5 W heat pad for a larger 18 W variant will keep budget resin in its recommended range.
This heating pad can be attached to the interior or exterior of the acrylic cover, with the interior being more efficient. You can use various attachment methods such as kapton tape, nylon string, or zip ties so long as the pad is not punctured.
This simulation shows that at 0°C ambient, a large 18 W heat pad and the cycling 45 W of the printer can heat the resin to a maximum temperature of 20°C, while in a grow tent.
Small Heat Pads
$12+
Dimensions: 3x20x0.05"
Rated Power: 6.5 W
Large Heat Pads
$16+
Dimensions: 10x20x0.05"
Rated Power: 18 W

Disclaimer: You assume all responsibility and risk for the use of, but not limited to, the resources, advice, and opinions of 4D Filtration or its employees. 4D Filtration or its employees do not assume any liability or create any warranty for the use of any information. 4D Filtration may receive commissions for referral links. Prices are approximated for simplicity and they may fluctuate due to sales or markdowns. Amazon .com should refer you to your local amazon site if you are not in the United States; there is a chance Amazon's link redirect system will take you to a different product.